Adding and Editing Metadata
Required Role: Metadata Administrator (or Full Administrator)
Cloudera Navigator provides two different types of customer-defined metadata that can be applied to entities extracted from the cluster:
- Managed metadata consists of the comprehensive organization-wide labeling scheme typically set up by data stewards to provide centralized, curated data sets. Different namespaces can be created for different departments, functional groups, or data type, or any categorization scheme needed, and each namespace contains the key-value pairs that are used to tag entities. Values can be constrained by data type (text, number, boolean, date, enumeration, for example). Managed metadata can be applied to entities after extraction (not before), and can be applied automatically by using the API or configuring the Navigator Metadata Server to apply policies.
- Custom metadata consists of key-value pairs that users define on an ad hoc basis and can be applied to entities before and after extraction. Business users who want to classify and organize data for their own use can use the Cloudera Navigator console to do so easily, as detailed below.
Editing Metadata Using the Cloudera Navigator Console
- Log in to the Cloudera Navigator console.
- Search for any entity in the Cloudera Navigator console.
- Click an entity link returned in the search. The Details tab displays.
- To the left of the Details tab, click . The Edit Metadata dialog box drops down.
- Add metadata fields:
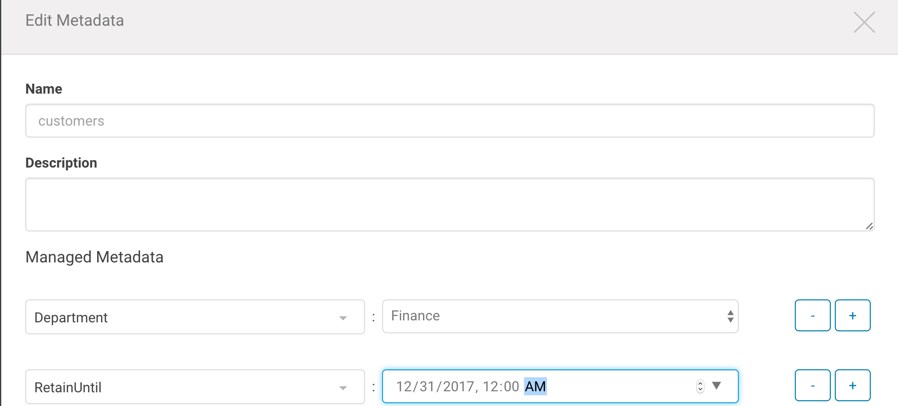
- In the Name field, type a new display name.
- In the Description field, type a description (500 characters maximum).
- Managed Metadata
- Click the
 and select a property.
 - Click the value field after the : to display type-specific selection controls such as integer spinners and date selection controls. Either type the value or use the controls to select a value.
- Click the
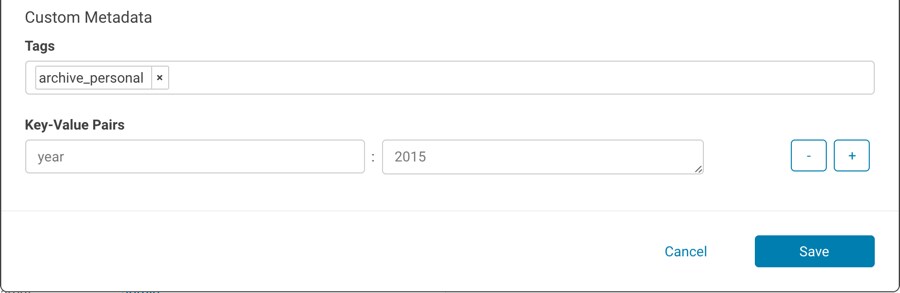
- Custom Metadata: In the Tags field, type a tag and press Enter or Tab to create new tag entries.
- Key-Value Pairs
- Click the plus icon to add a key-value pair.
- Type a key and a value. You can specify special characters (for example, ".", " ") in the name, but it makes searching for the entity more difficult because some characters collide with special characters in the search syntax.
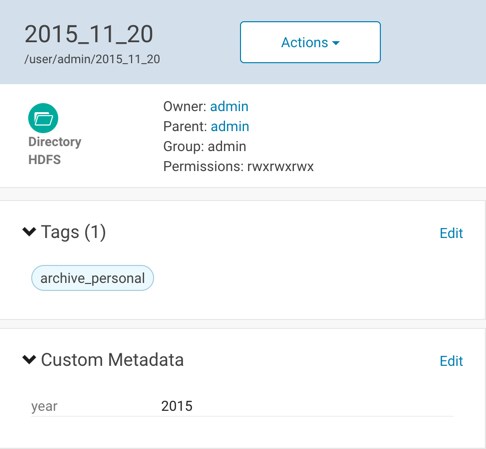
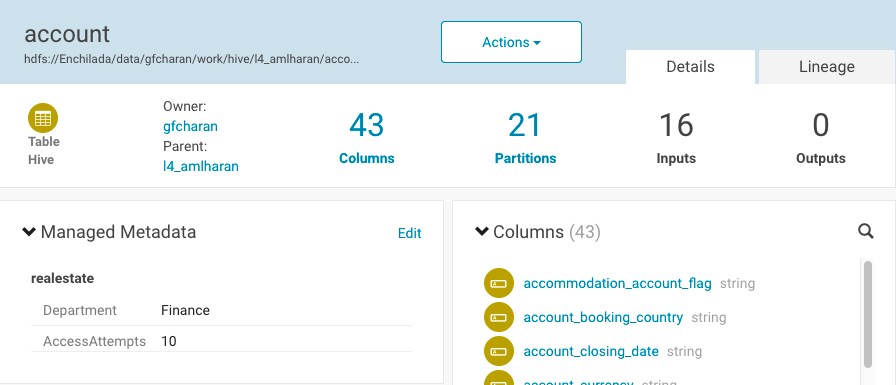
- Click Save. The newly defined metadata appears in the Managed Metadata or Custom Metadata pane.