Introduction
This tutorial walks you through the installation of Cloudera Base on premises (trial version). We will use AWS for the infrastructure as a service (IaaS) to create the underlying infrastructure needed.
At the time of writing, Cloudera Base on premises is built using Cloudera Manager 7.4.4 and Cloudera Runtime 7.1.7.
Prerequisites
- Have administrative access to an AWS account
- Installed and configured AWS CLI
- Installed jq, a command-line tool for parsing JSON. Refer to stedolan.github.io for assistance on installing.
Create infrastructure
In the Downloads assets section, bash script create-iaas.sh was provided. This script facilitates the creation of the infrastructure and requirements needed to install Cloudera Base on premises (trial version) using AWS as the cloud service provider.
There is no need to edit or modify the script.
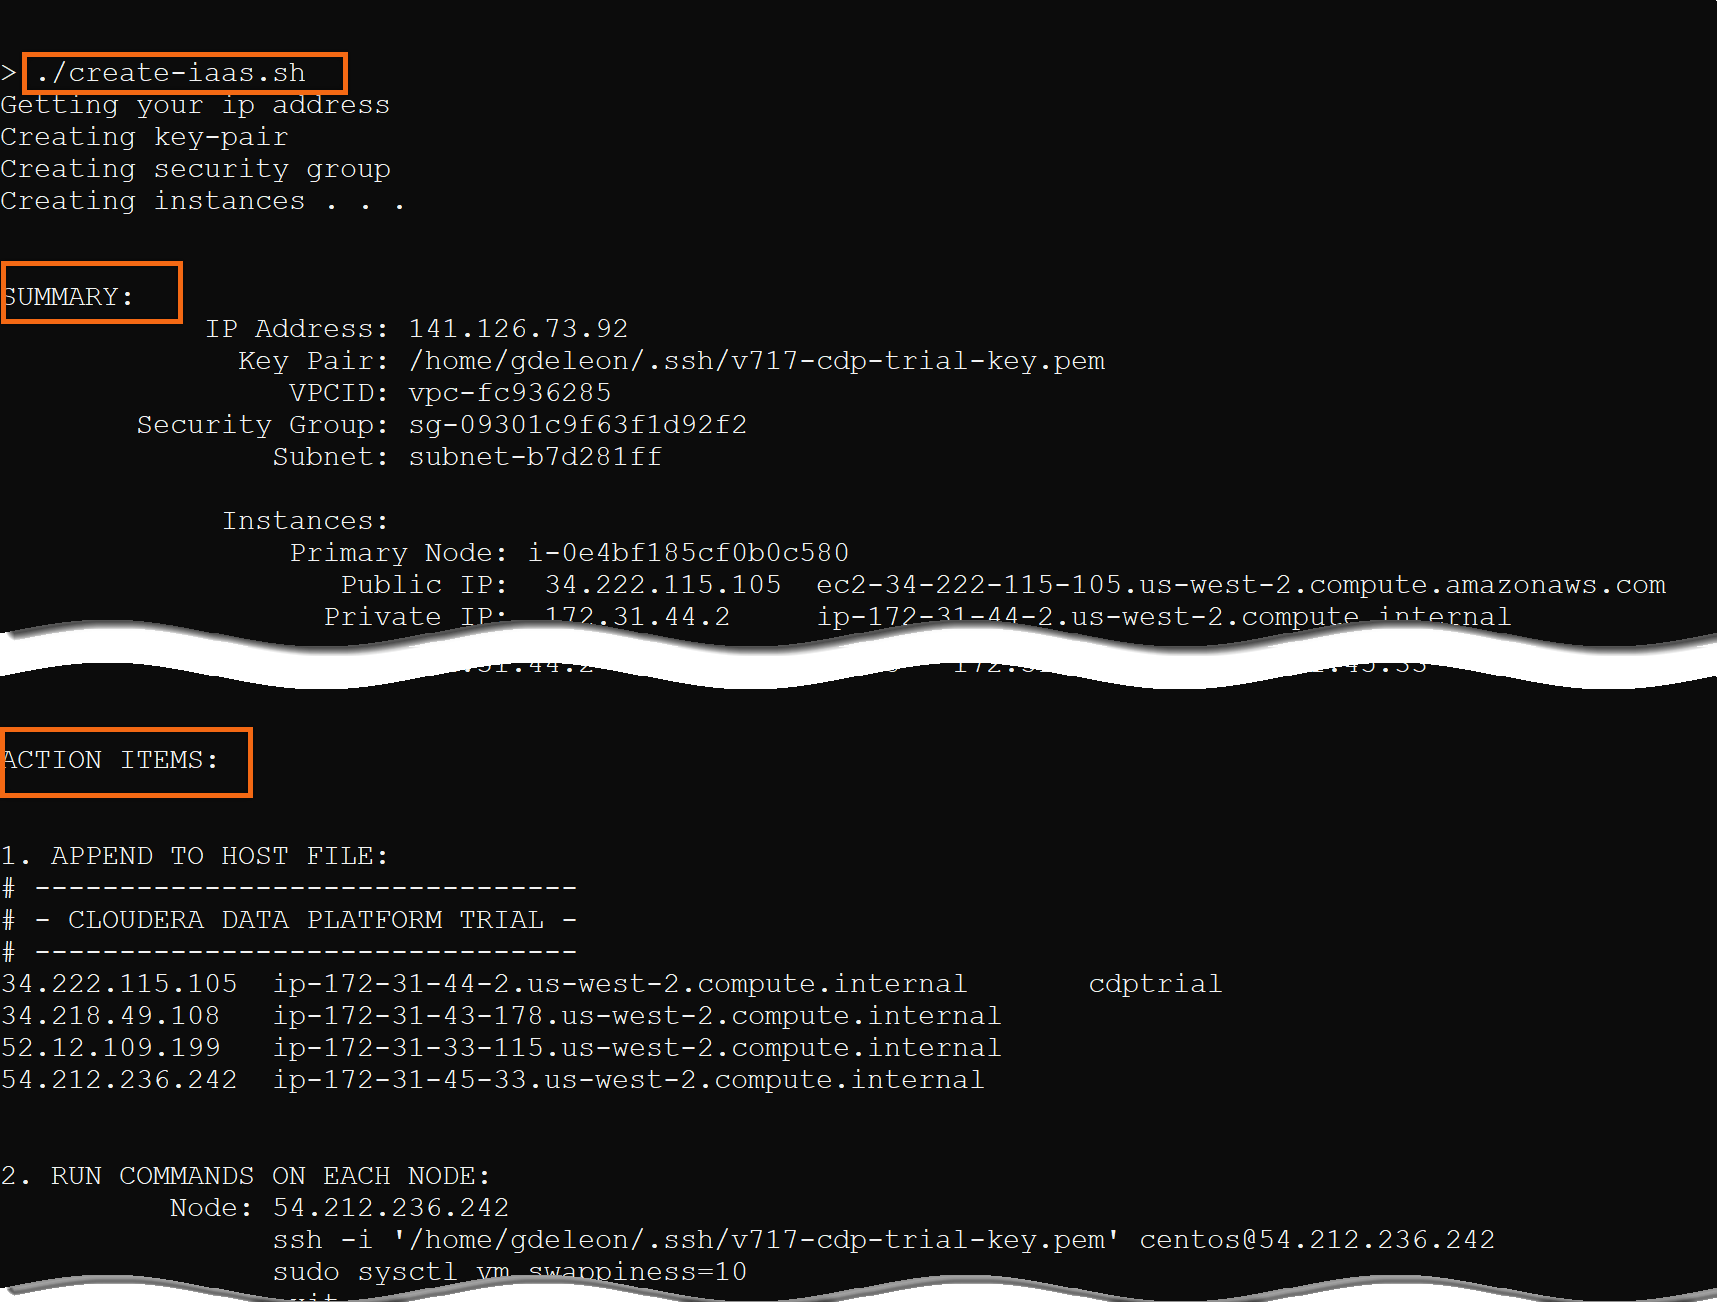
IMPORTANT: Make note of the script output, SUMMARY and ACTION ITEMS sections. It provides information about the infrastructure created and the necessary action items you must take.
On your local computer’s command-line, issue the following command:
./create-iaas.sh
Map IP addresses
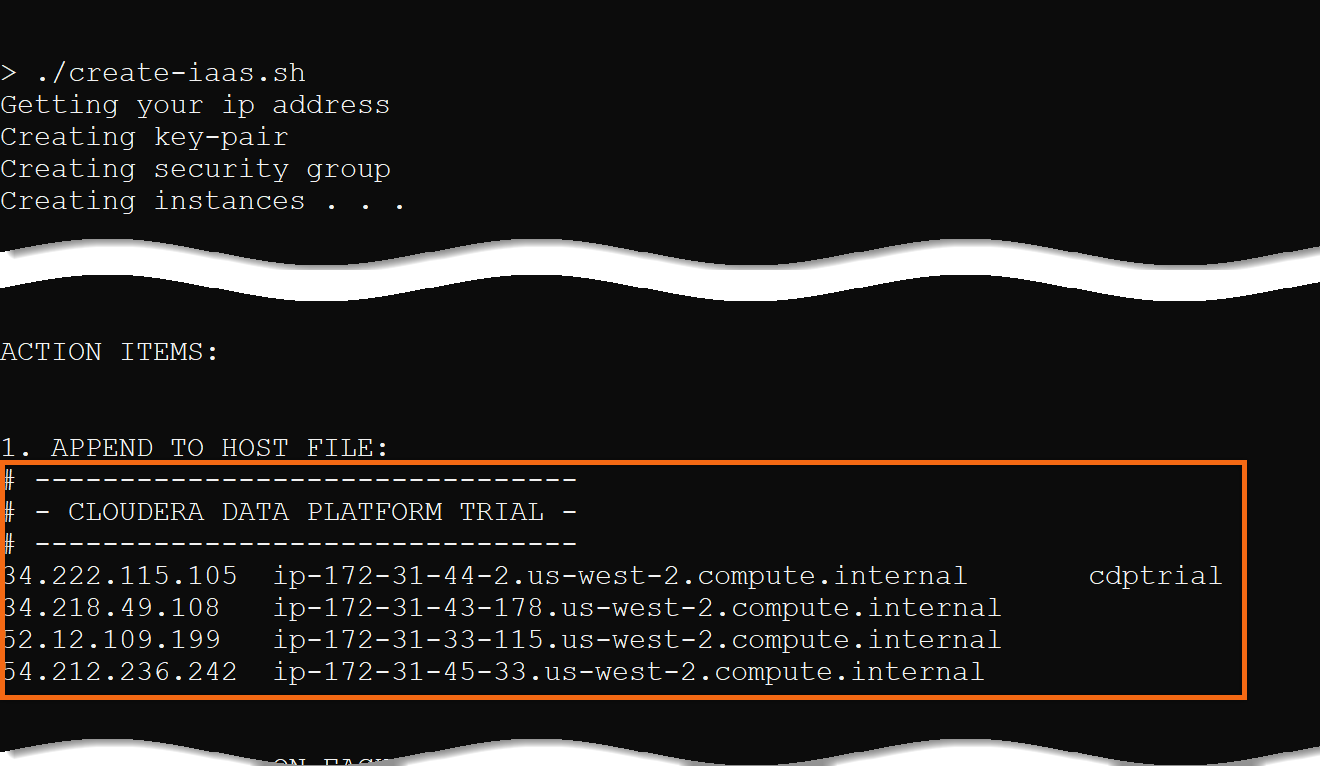
Based on the infrastructure the script created, your hosts file needs to be updated to map the IP addresses to host names.
From the script output, select and copy the text underneath 1. APPEND TO HOST FILE: and append it to your host file.
NOTE: You must have administrator/sudo privileges to modify the host file.
Host file location depends on your operating system:
macOS: /private/etc/hosts
Linux: /etc/hosts
Windows: c:\Windows\System32\drivers\etc\hosts
Run commands on each node
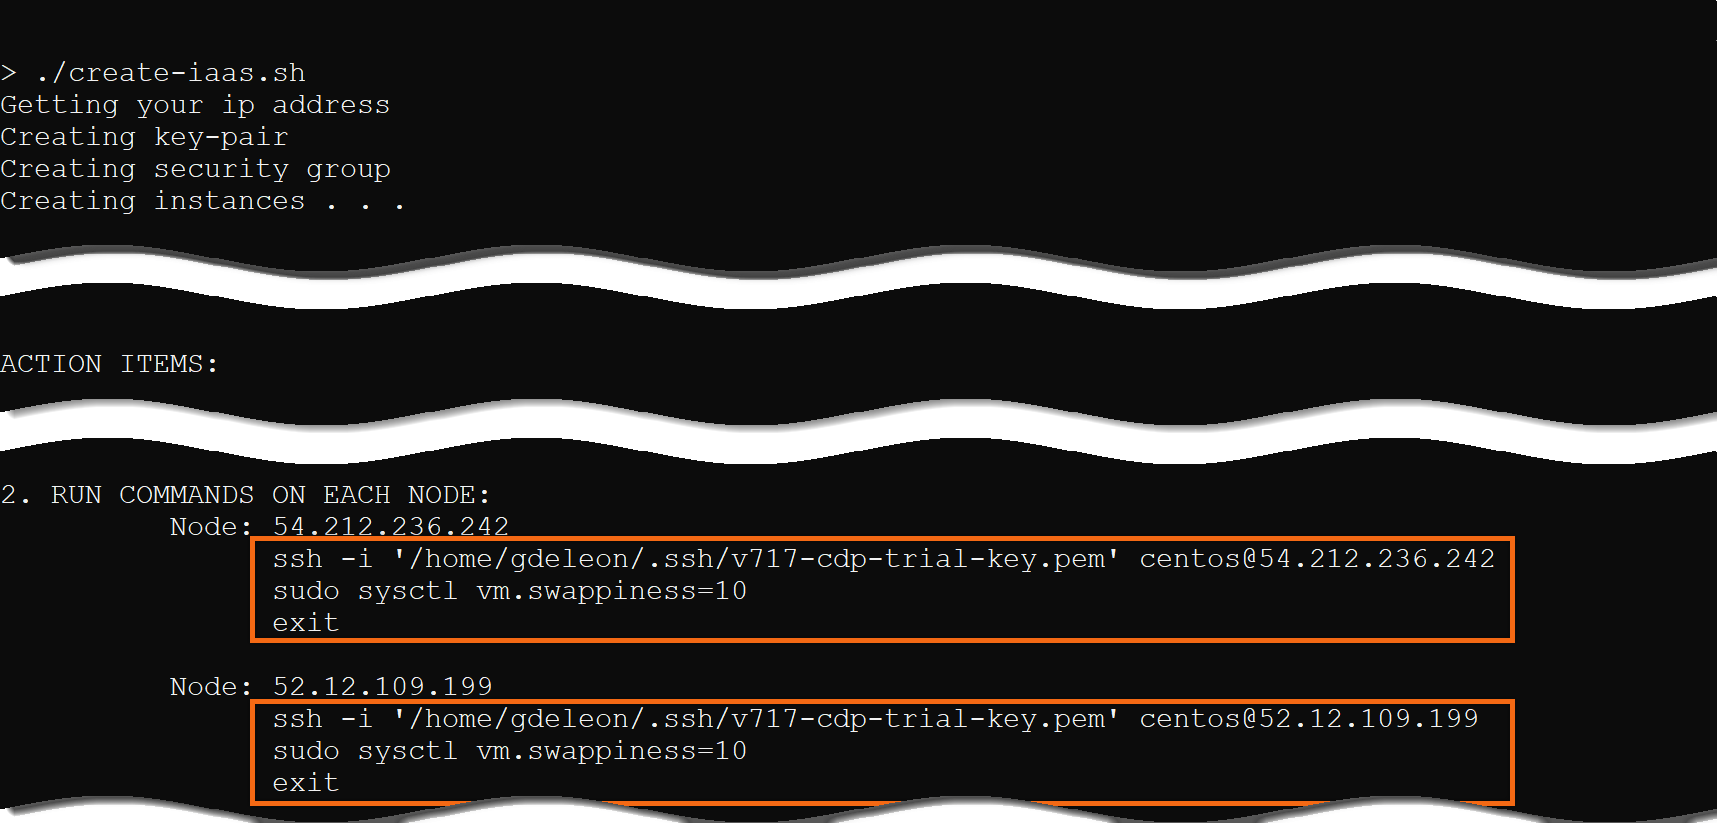
As explained in the script output, under ACTION ITEMS, run the specified commands on each node.
NOTE: We deliberately update the primary node last; not exiting the terminal. We need to run more commands in the next step.
Reason for updates:
- As explained in, Before You Begin a Trial Installation, we need to disable SELinux.
- Reducing value for vm.swappiness enhances performance by keeping more pages in memory.
Download trial version
Let’s download the trial version of Cloudera Base on premises from the Cloudera downloads site:
- Select Cloudera on premises, Free Trial.
- Select Cloudera Base on premises, Try now
- Select Trial Version Cloudera on premises, TRY NOW
- Follow the Trial Installation instructions provided on the page.
NOTE: In the previous step, we deliberately left the ssh connection opened for the primary node. This is where we will run the Cloudera Manager installer, cloudera-manager-installer.bin.
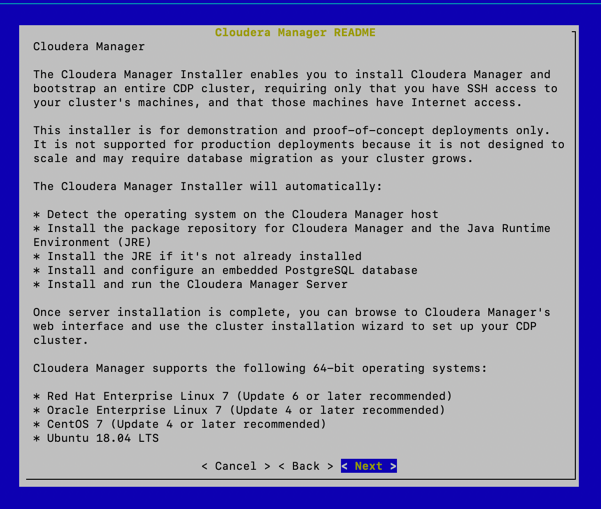
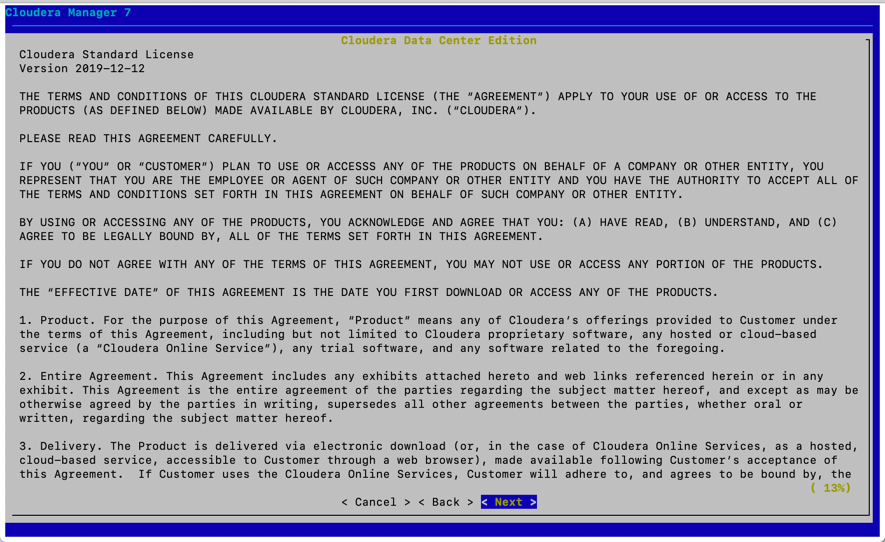
After reading the Cloudera Standard License agreement, click Next.
If you agree to the license agreement, click Yes to accept the license.
It will take a few minutes to install Cloudera Manager Server.
When it completes, you will be asked to point your browser to the URL provided and log in using credentials provided.
NOTE: In the Map IP Addresses section, you modified the hosts file.

Select OK to close the window.
Select OK to exit the Cloudera Manager installer.
Type exit on the primary node’s command-line to close the ssh connection.
Install cluster
Now that you have opened your web browser to http://cdptrial:7180 and logged in to Cloudera Manager, let’s configure Cloudera Manager.
When asked for License File, select Try Cloudera for 60 days, accept the Terms and Conditions and select Continue.
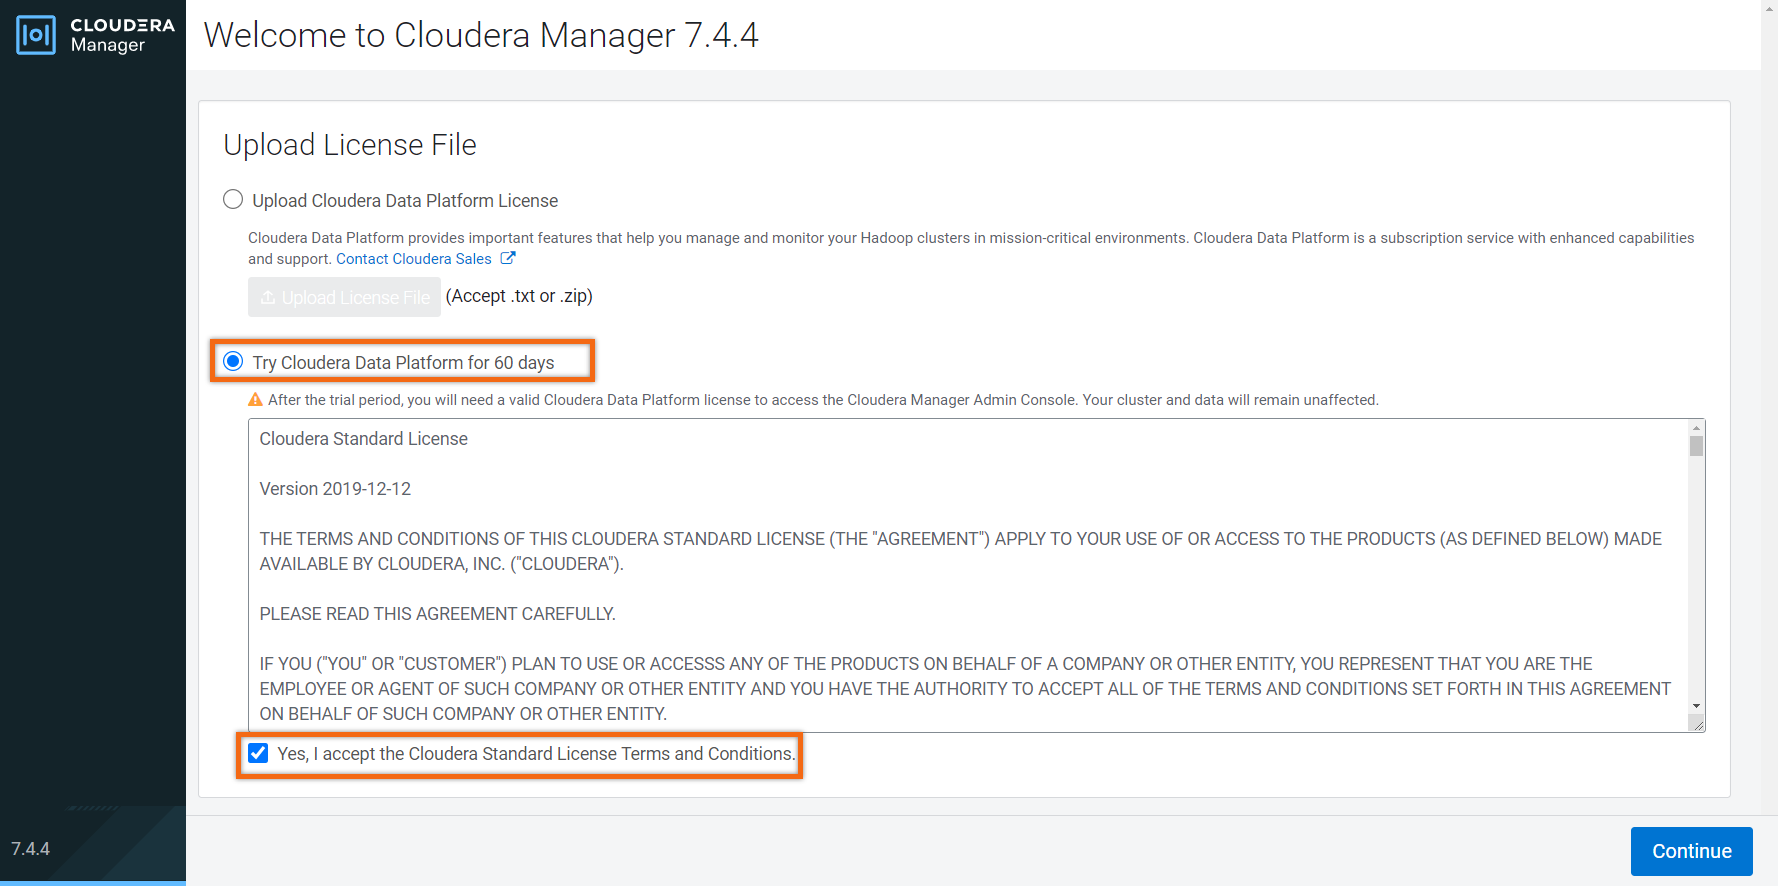
After reading the welcoming message, Select Continue.
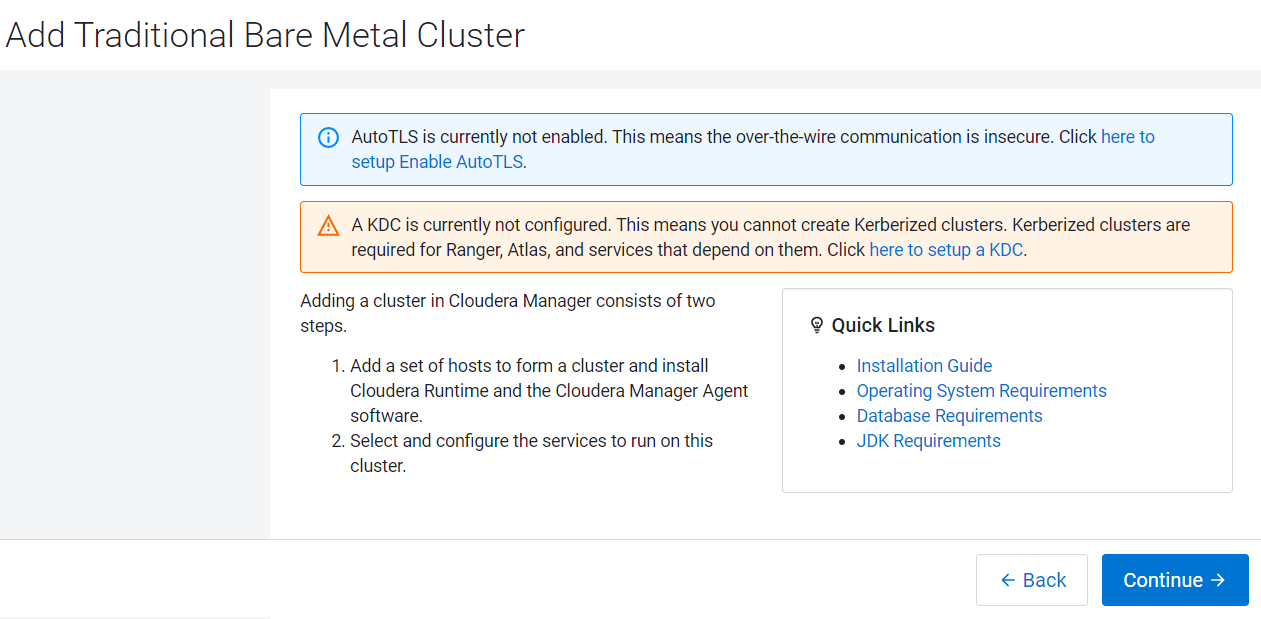
NOTE: The warnings received about AutoTLS and KDC can be ignored since we’re installing the trial version.
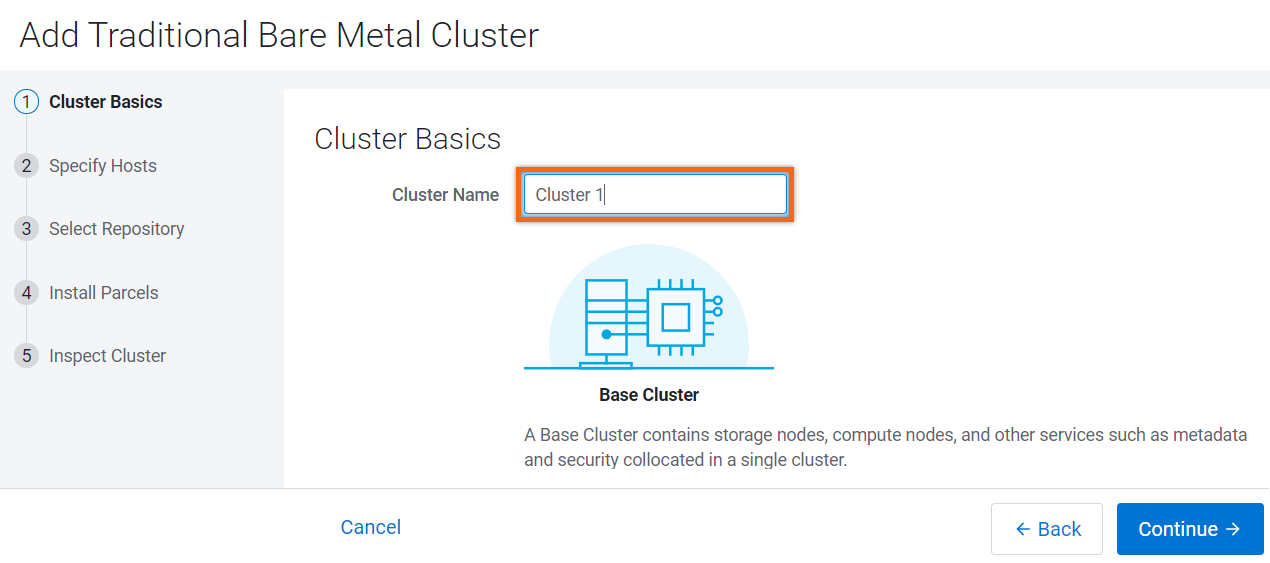
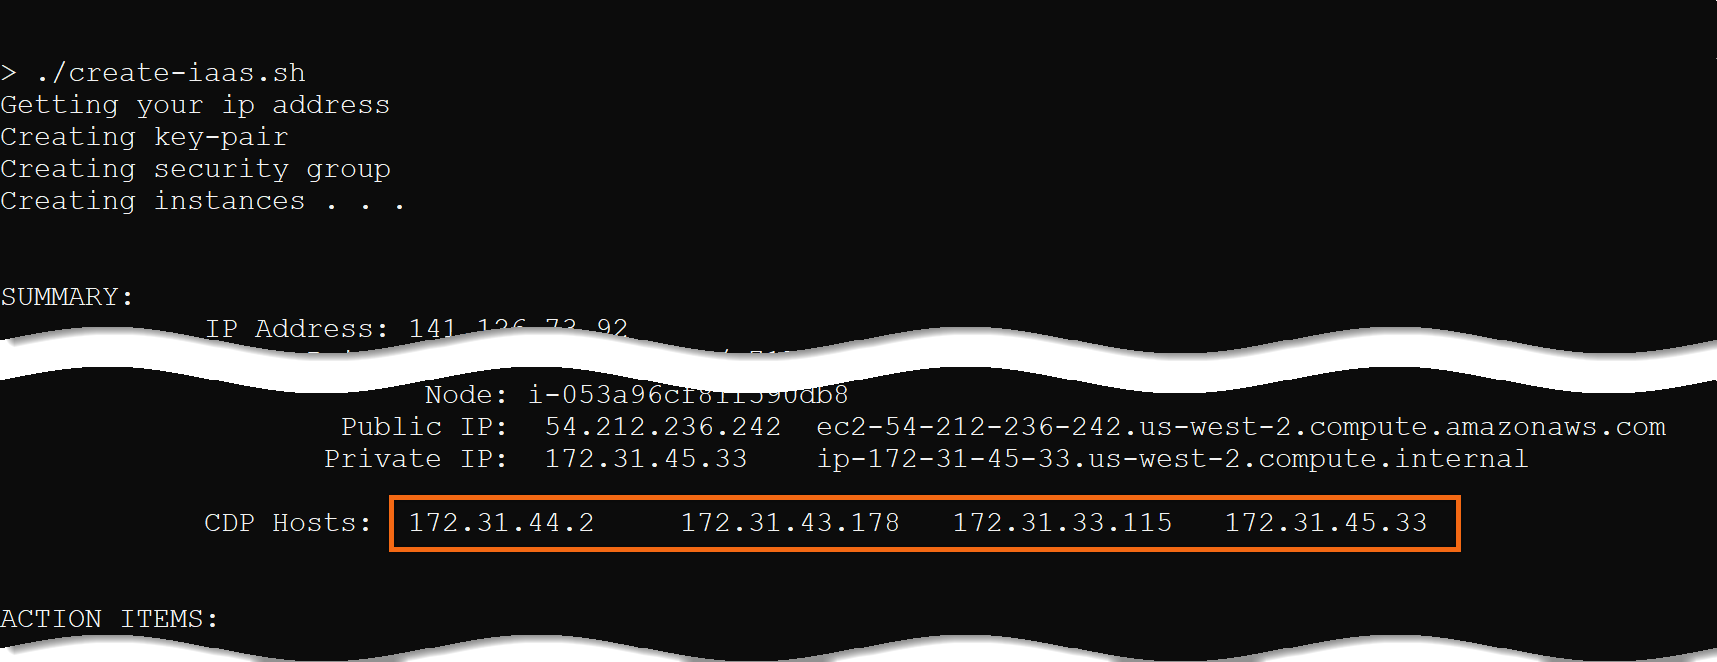
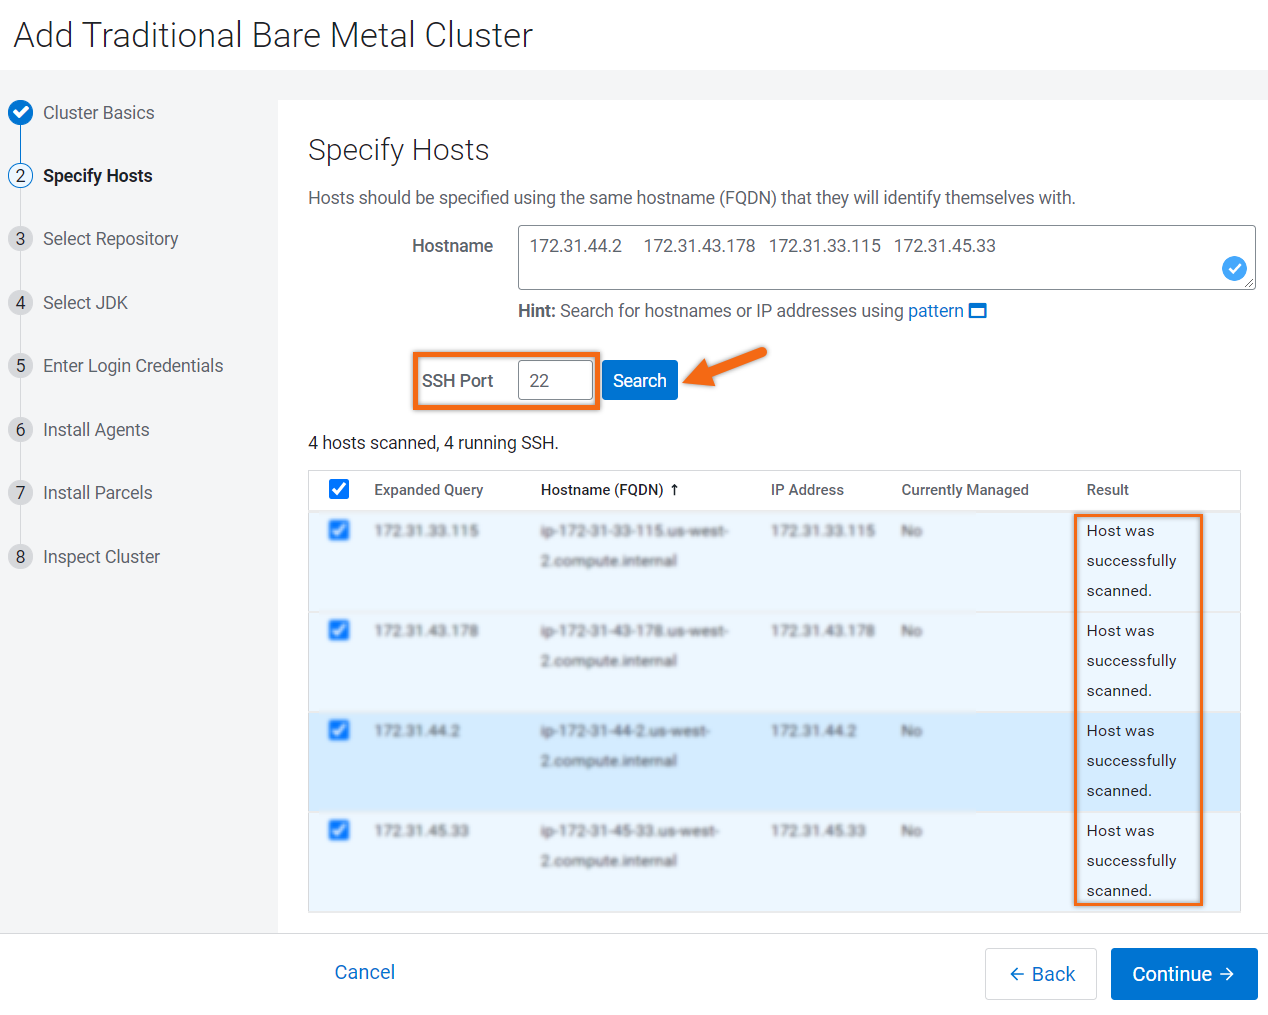
Make sure the SSH Port is 22, select Search, then Continue.
IMPORTANT: Make sure all hostnames are successfully scanned and select all IP address.
Select repository
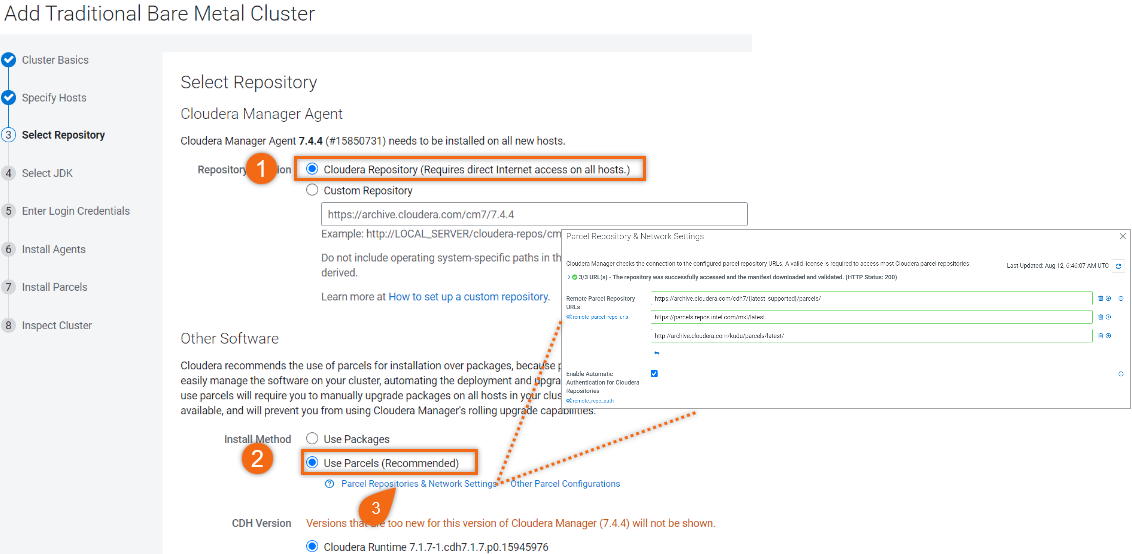
- Select Cloudera Repository for the repository location.
- Select Use Parcels (Recommended)
- Click on Parcel Repositories & Network Settings to modify settings
- Remove the following URLs by clicking on
 next to the parcel URL:
https://archive.cloudera.com/p/cdh7/{latest_supported}/parcels/ https://archive.cloudera.com/p/cdh6/{latest_supported}/parcels/ https://archive.cloudera.com/p/cdh5/parcels/latest https://archive.cloudera.com/accumulo-c5/parcels/latest/ https://archive.cloudera.com/accumulo6/6.1/parcels/ https://archive.cloudera.com/kafka/parcels/latest/ - Select Save & Verify Configuration
Confirm that all URLs have (HTTP Status: 200) - Select Close
- Remove the following URLs by clicking on
- Select Continue
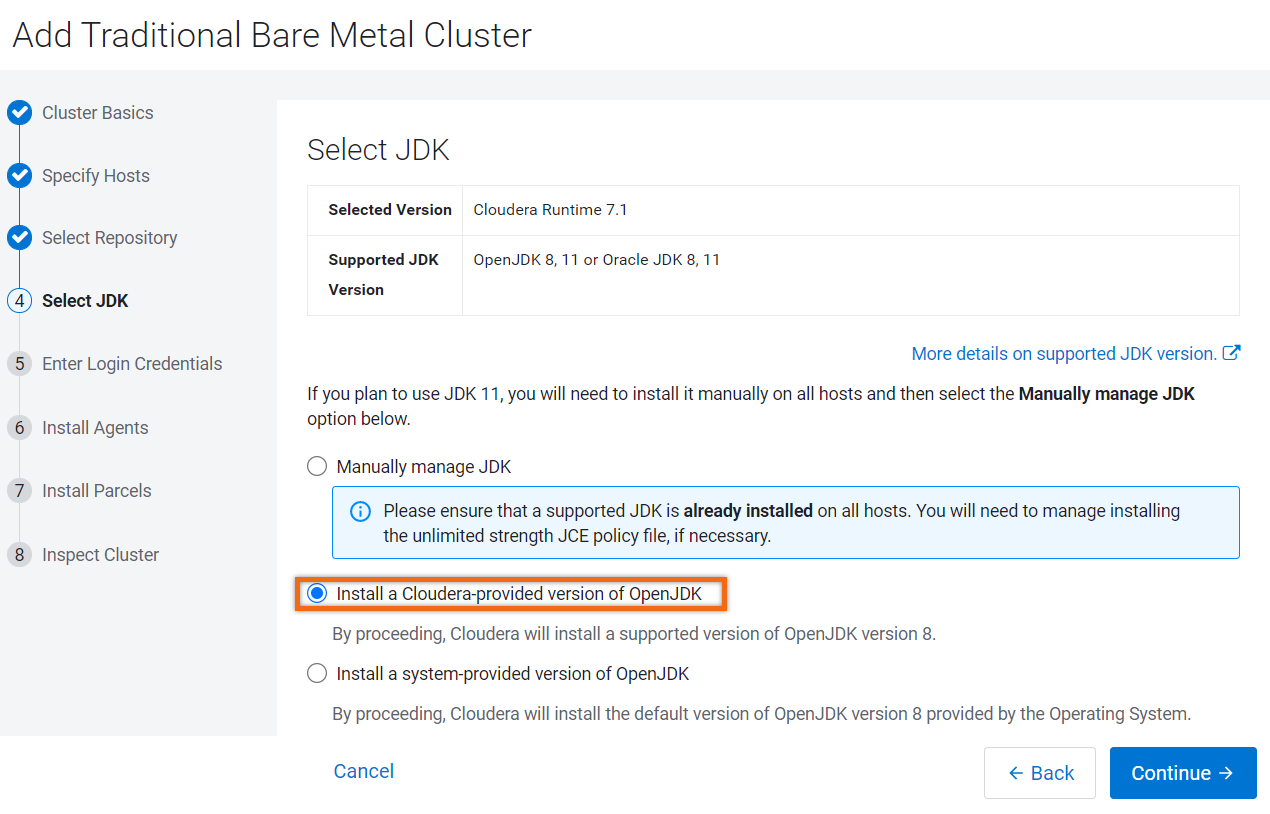
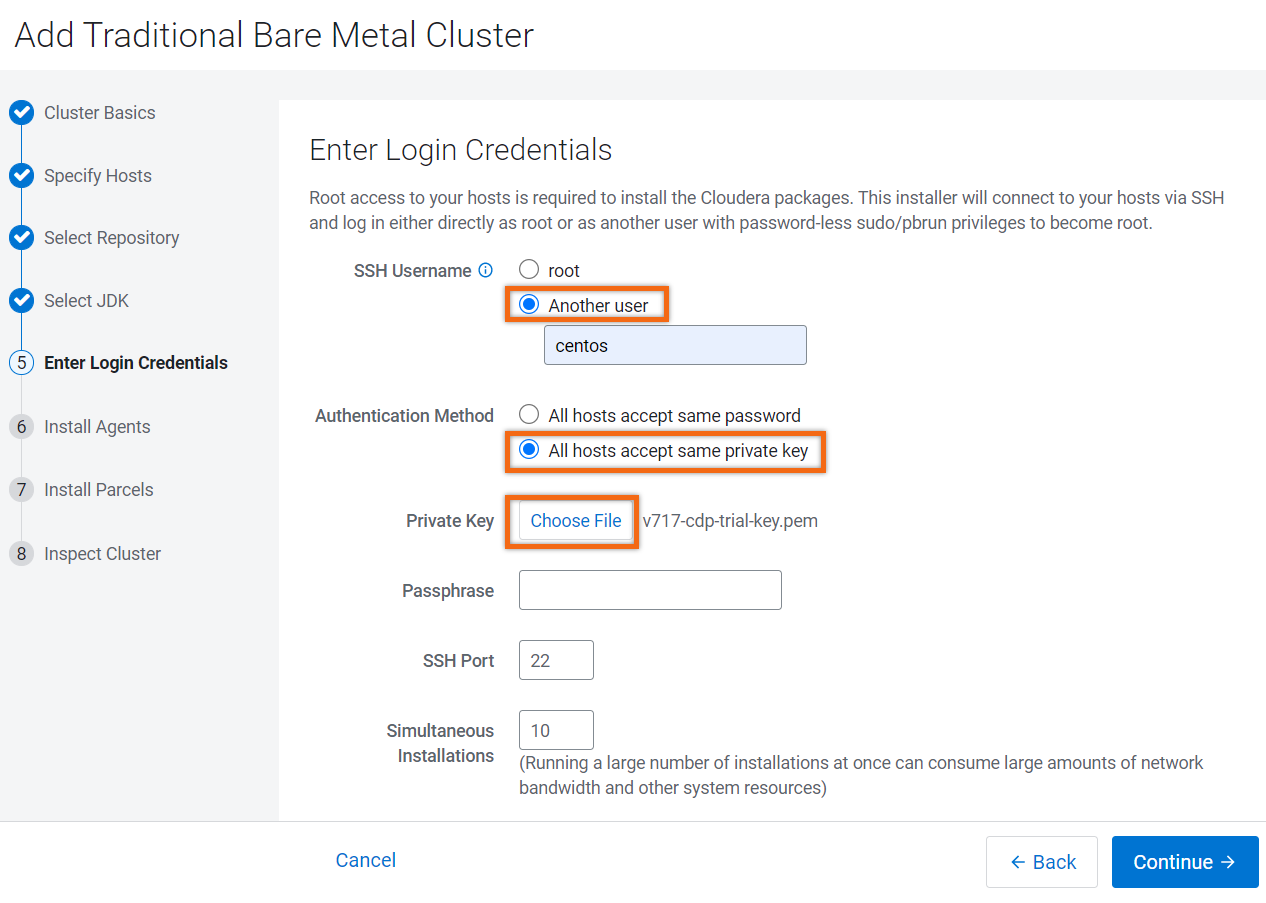
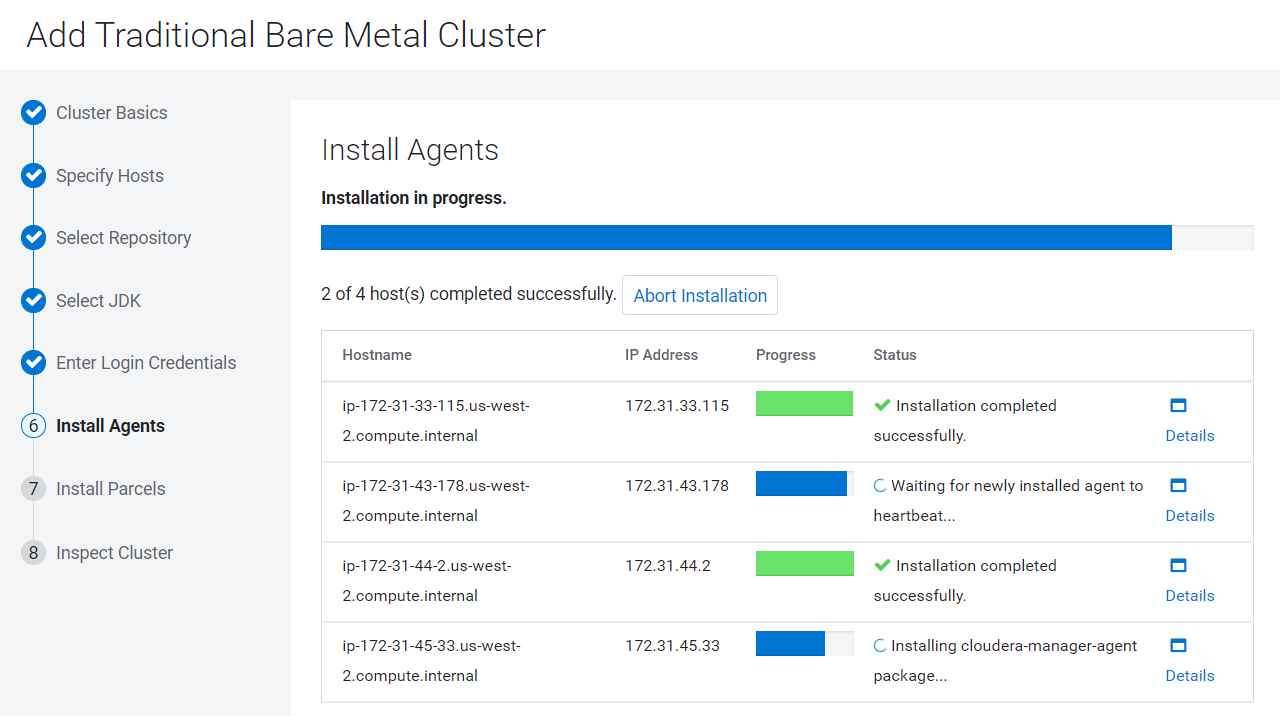
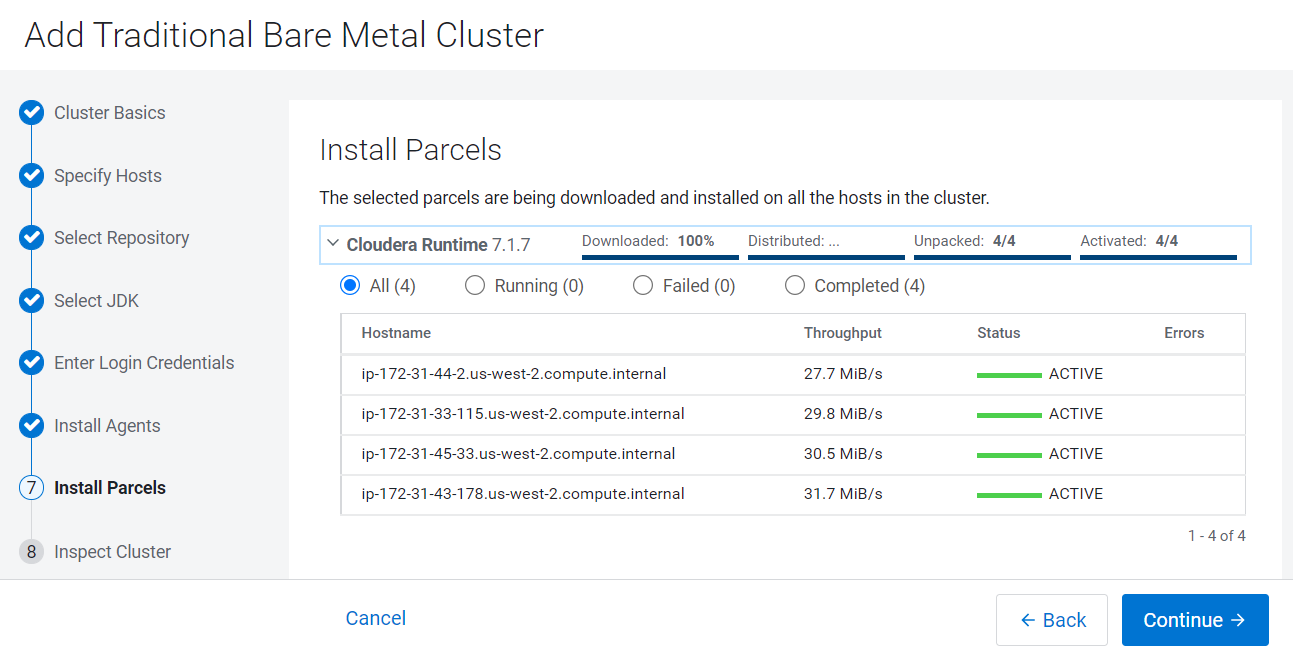
Inspect cluster
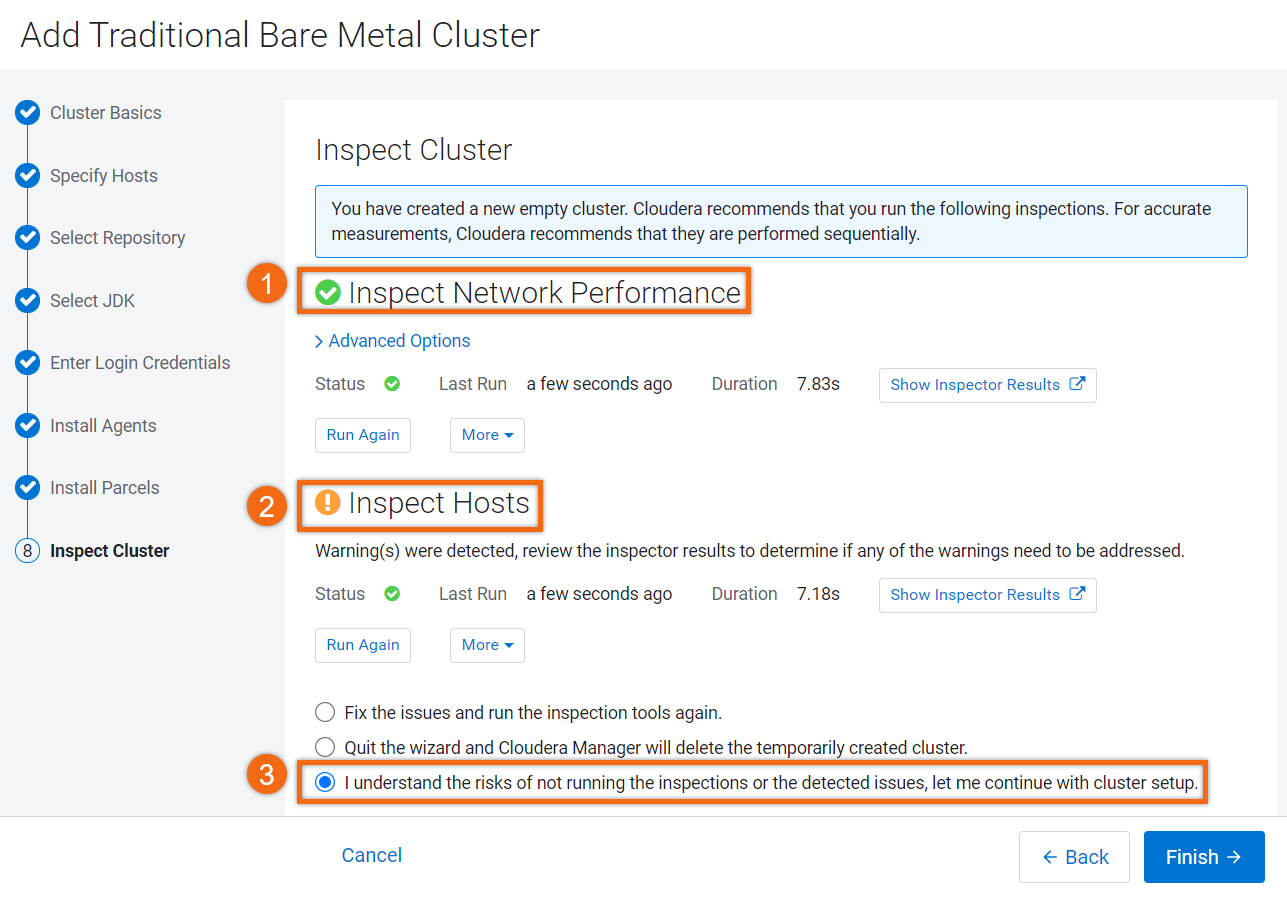
Let’s inspect the cluster and resolve any issues before proceeding.
- Select Inspect Network Performance
- Select Inspect Hosts
NOTE: You may receive a warning,Transparent Huge Page Compaction is enabled, which may be ignored. However, all other issues should be resolved before continuing.
- Select I understand the risks of not running the inspections or the detected issues, let me continue with cluster setup.
- Select Continue
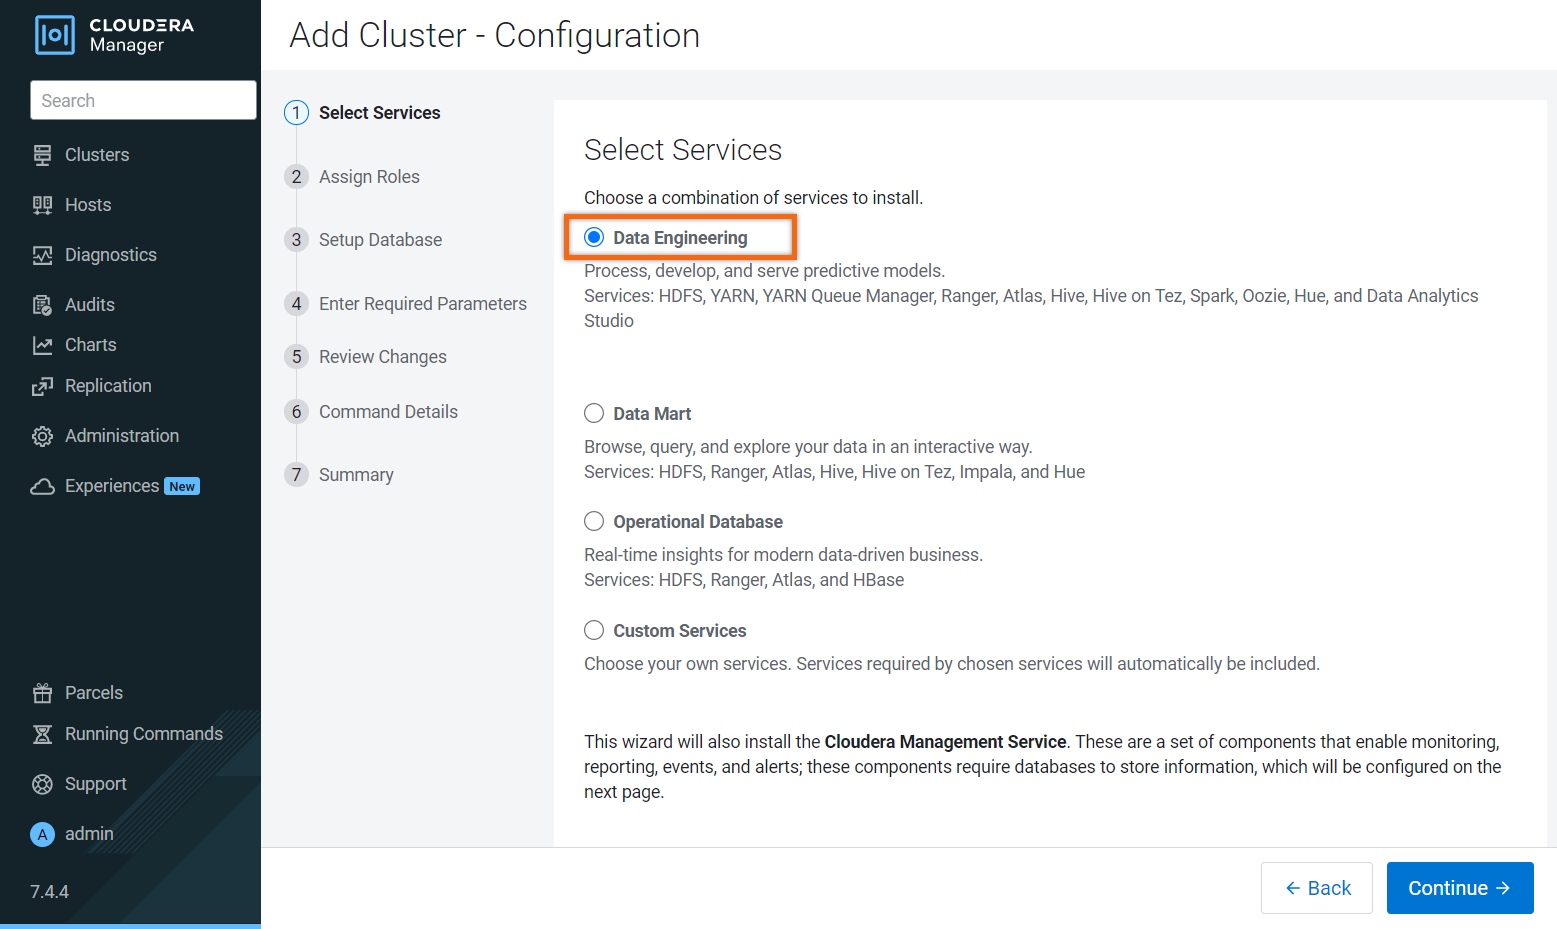
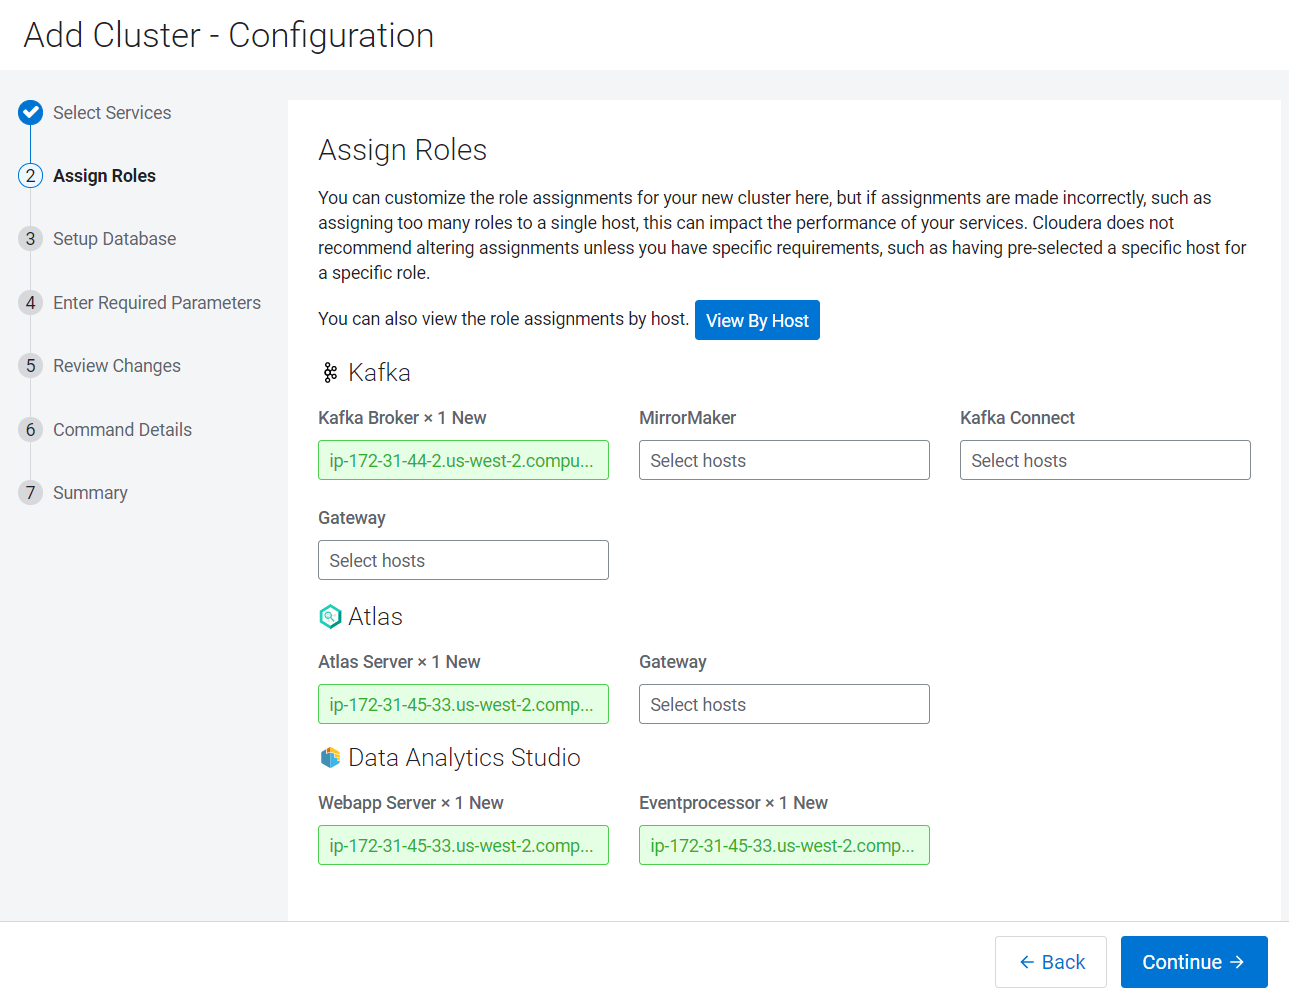
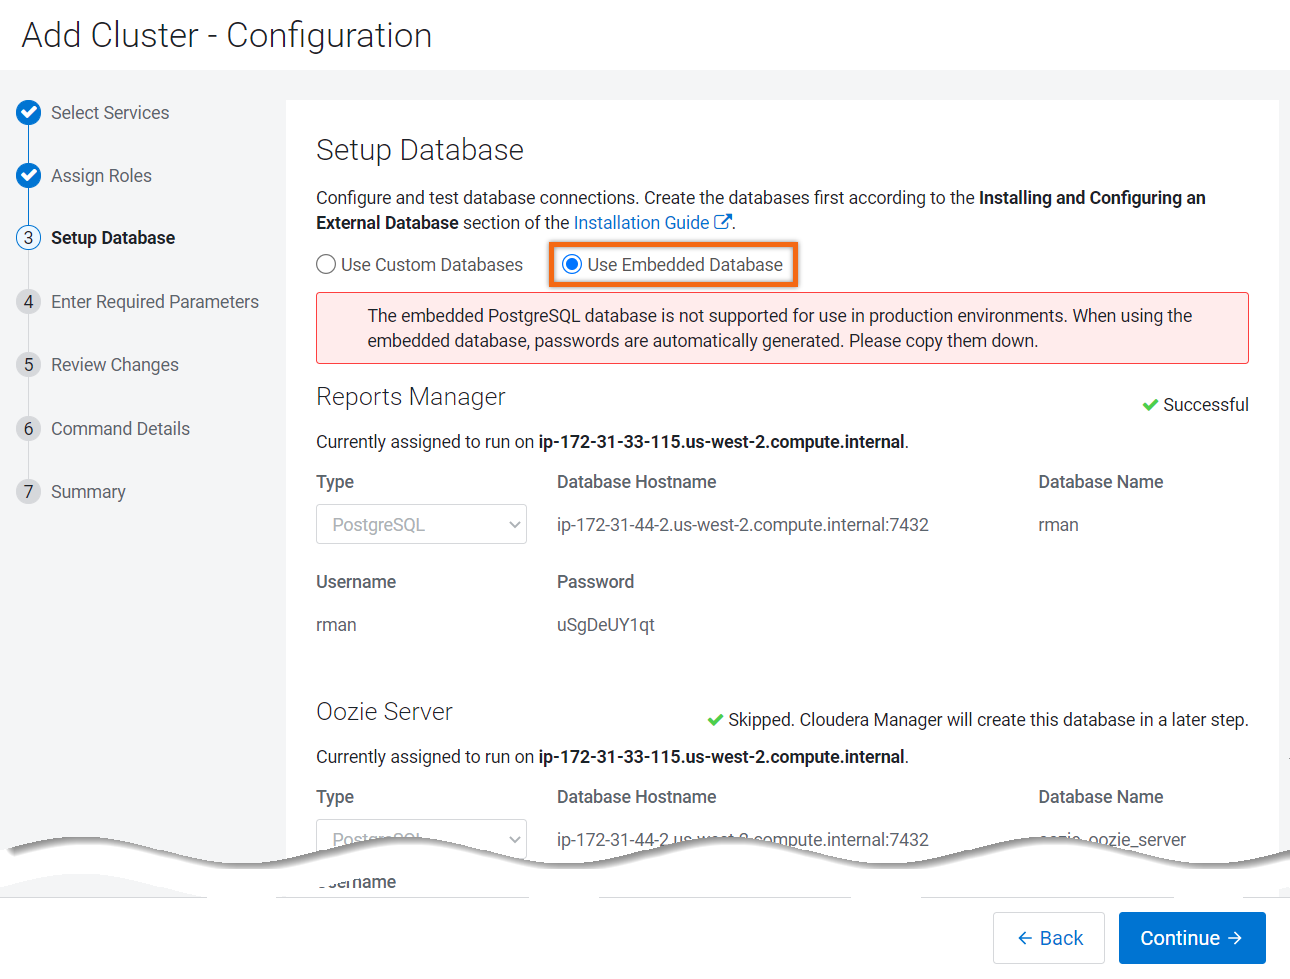
Setup database
This step configures and tests the database connections.
Make sure Use Embedded Database is selected.
NOTE: You may receive a warning stating that PostgreSQL database is not supported for use in production environments. This warning can be ignored because we are using the trial version.
Scroll down to the bottom of the page and select Test Connection. All tested connections should be successful.
Click Continue.
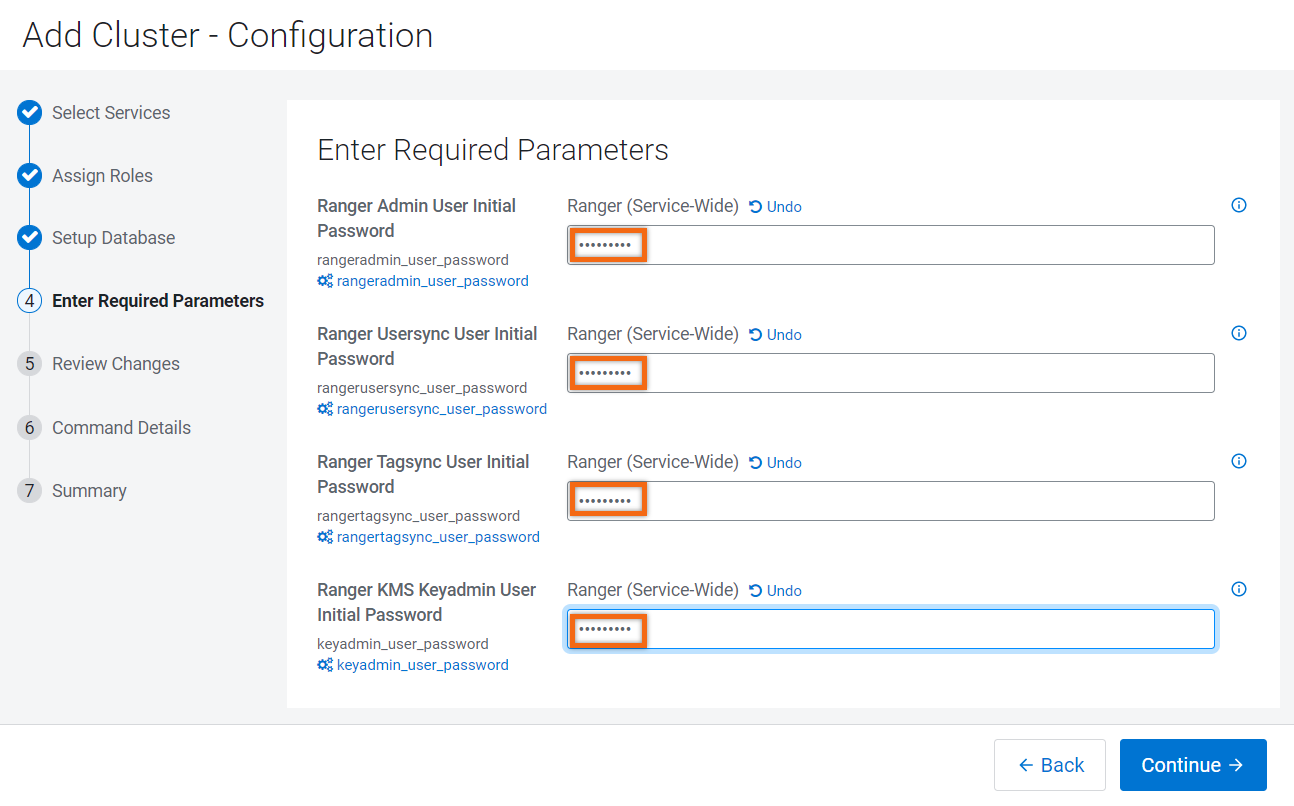
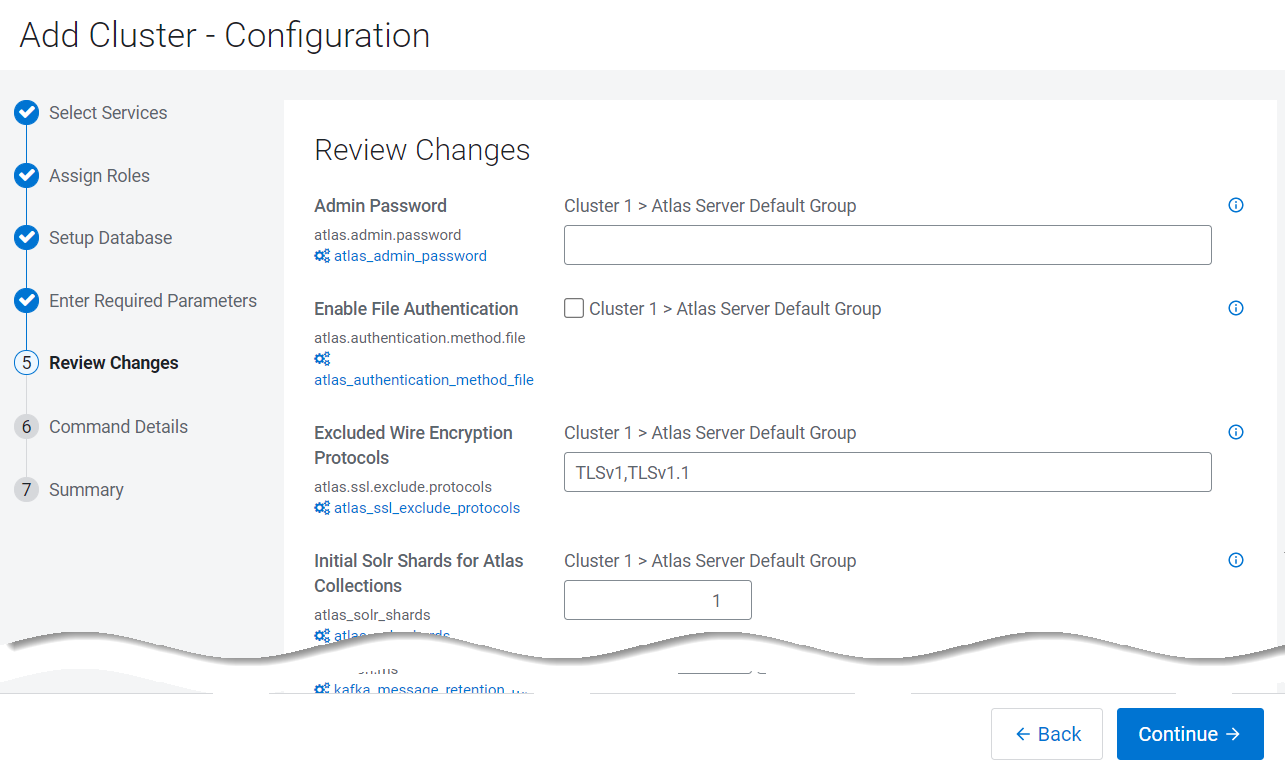
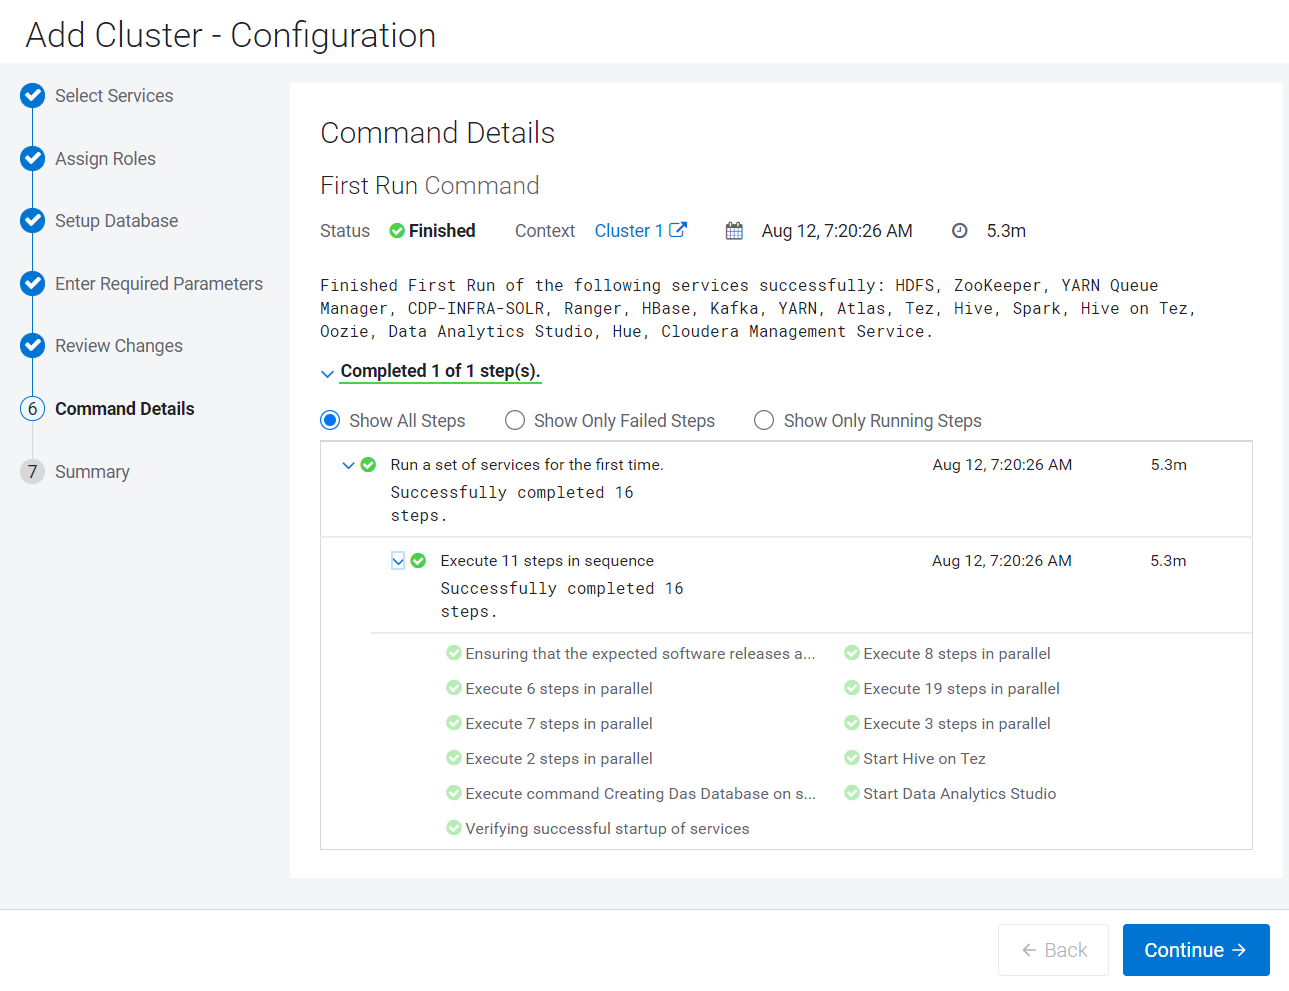
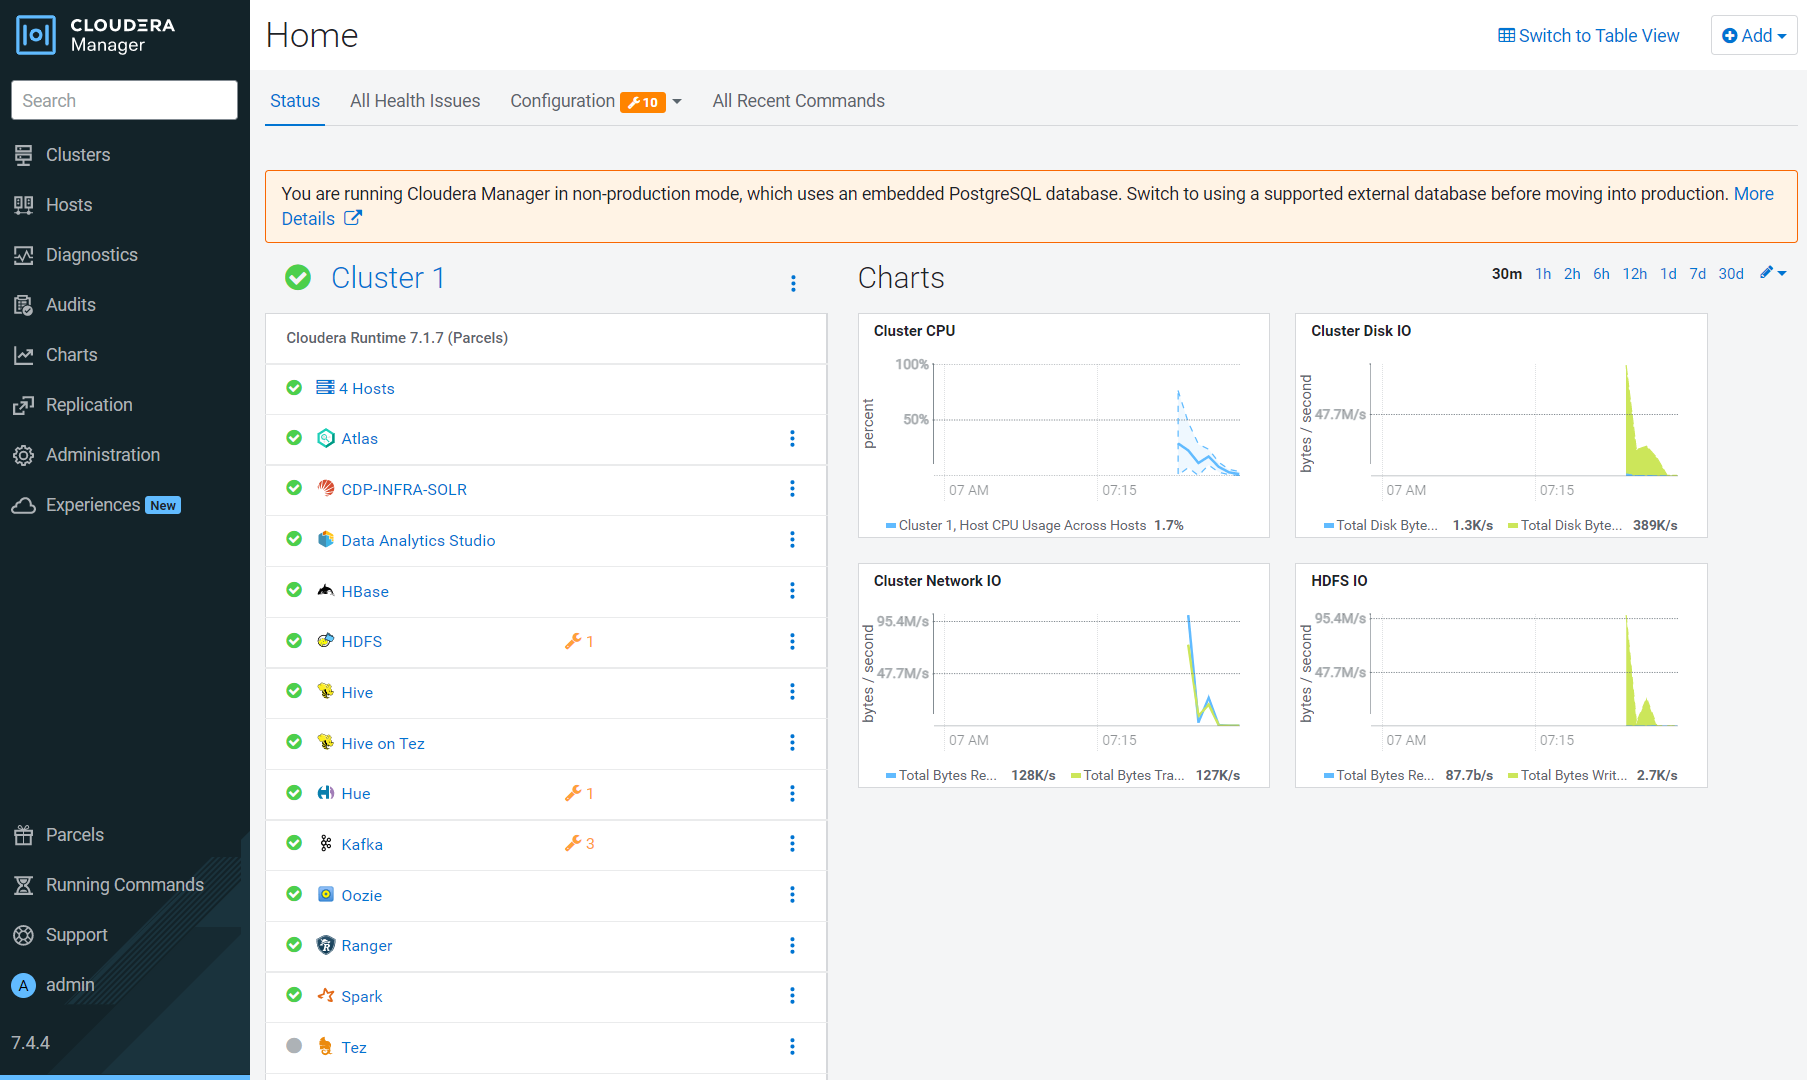
The Cloudera Manager Home screen should look like this:
Further reading
Other
- Have a question? Join Cloudera Community
- Cloudera on premises documentation
- Cloudera on premises product page
Appendix A: Uninstall cluster
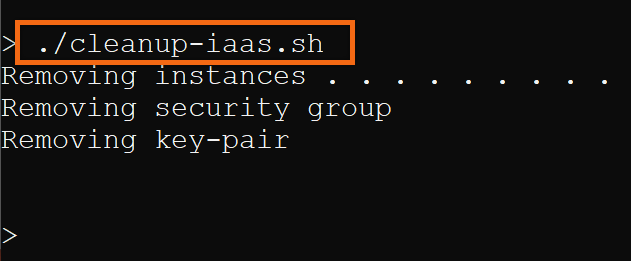
When you are ready to terminate infrastructure used for Cloudera Base on premises (trial version), using your computer’s command-line, issue the following command. It was provided in Download Assets.
./cleanup-iaas.sh
